Steps to Install RAM in Laptop: A Complete Guide for 2024
Introduction
Installing RAM in a laptop can breathe new life into your device, providing a significant boost in speed and performance. Whether your laptop has slowed down over time or you require more memory for specific applications, upgrading the RAM is a cost-effective and relatively straightforward solution. This guide will walk you through the entire process, from understanding why an upgrade is beneficial to the final verification of the installation. Follow these steps to ensure a smooth and successful RAM upgrade for your laptop.

Why Upgrade Your Laptop RAM?
Upgrading your laptop's RAM can significantly enhance its performance and multitasking capabilities. A laptop with insufficient RAM struggles to keep up with modern applications and can lead to frustrating slowdowns and crashes. With more RAM, your laptop can handle multiple applications simultaneously, improving your work efficiency and gaming experience.
When you upgrade the RAM, you also extend the lifespan of your laptop. Instead of purchasing a new device, a RAM upgrade allows you to enjoy better performance on your current machine. This upgrade is especially beneficial for resource-intensive tasks like video editing, 3D rendering, and running complex simulations. Understanding the importance of this upgrade is crucial before diving into the technical steps of RAM installation.
Preparing for the Installation
Backing Up Your Data
Before you start, back up your important data. While installing RAM is generally safe, it's always wise to safeguard your data against any unexpected issues. Use an external hard drive, cloud storage, or a combination of both to store your essential files.
Gathering Necessary Tools
To install RAM in a laptop, you'll need the following tools: - A small Phillips-head screwdriver - An anti-static wrist strap (optional but recommended) - A clean, flat workspace
Having these tools on hand will make the installation process smoother and prevent any potential damage to your laptop.
Purchasing Compatible RAM
Ensure that you purchase RAM compatible with your laptop. Check your laptop's specifications or consult the manufacturer’s website to determine the type, speed, and maximum capacity of RAM it can support. Opt for reputable brands to avoid compatibility issues and ensure reliable performance.
Checking Your Laptop’s Current RAM Configuration
Using System Information
Before purchasing new RAM, check your laptop's current RAM configuration. 1. On Windows, open the Task Manager (Ctrl + Shift + Esc), go to the Performance tab, and click on Memory. You'll see the total RAM and its usage. 2. On macOS, open the Apple menu, click About This Mac, and then select the Memory tab.
Understanding RAM Specifications
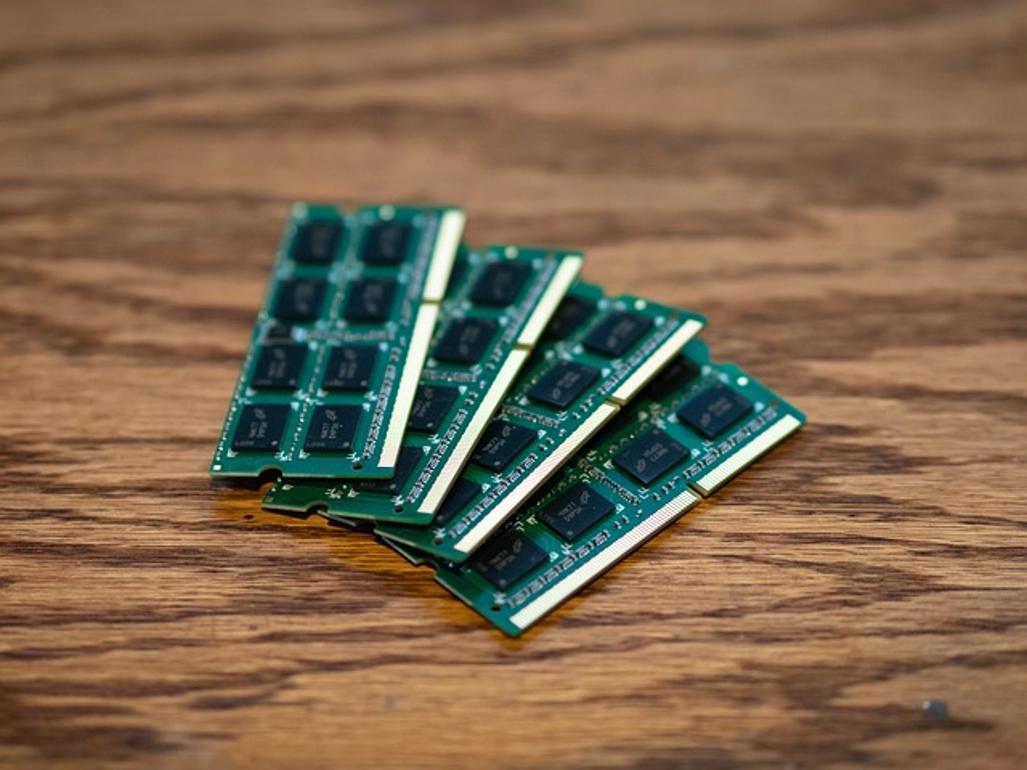
Understanding RAM specifications is key to selecting the right upgrade. RAM modules vary by type (DDR3, DDR4, etc.), speed (measured in MHz), and capacity. Refer to your laptop's manual or support page to know which specifications are compatible with your device.

Step-by-Step RAM Installation Guide
Powering Off and Unplugging the Laptop
- Shut down your laptop completely.
- Unplug the power adapter and any connected peripherals.
- Remove the battery if your laptop has a removable one. This step ensures safety and prevents electrical damage.
Removing the Laptop Back Panel
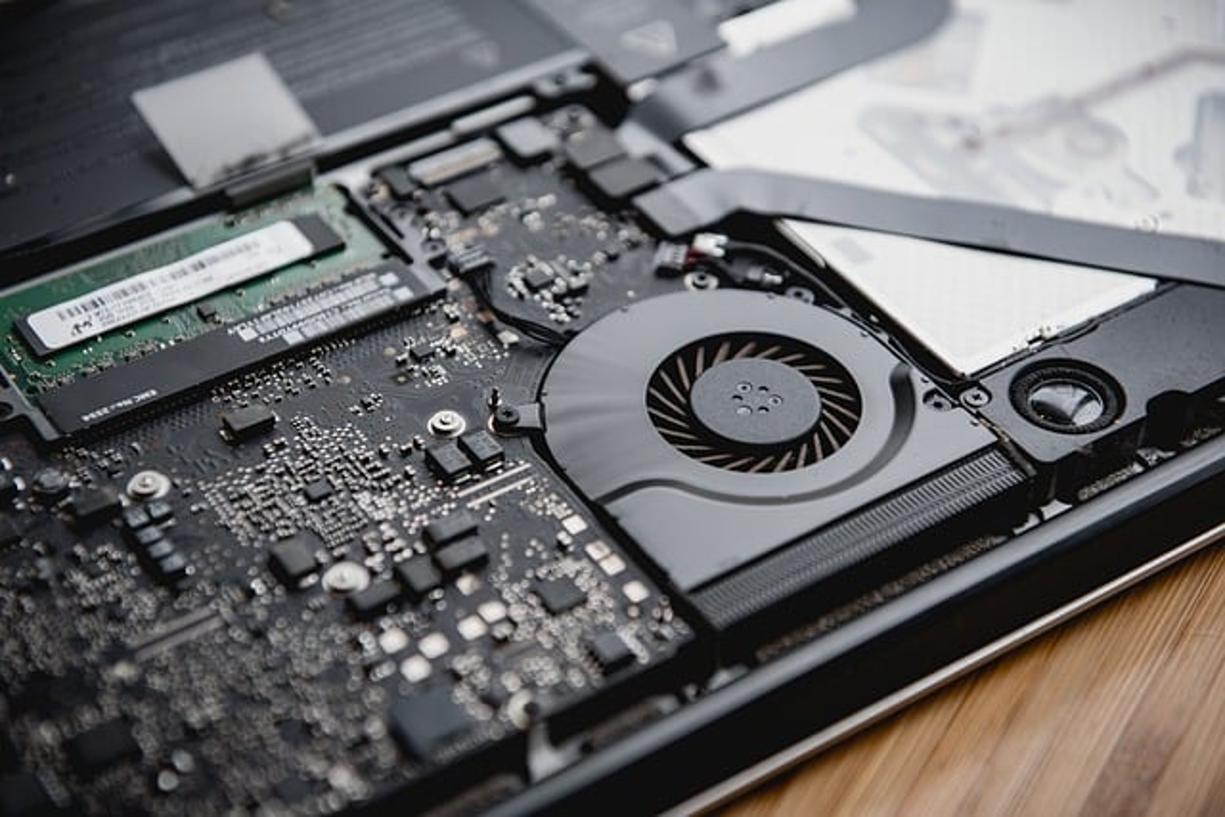
Place your laptop on a clean, flat surface, upside down. Use the Phillips-head screwdriver to remove the screws securing the back panel. Carefully lift the back panel off the laptop, exposing the internal components.
Safely Removing the Existing RAM Module (if needed)
Locate the RAM slots, usually held in place by metal clips on each side. Gently push the clips outward to release the existing RAM module. Hold the RAM module by its edges and lift it out of the slot.
Installing the New RAM Module
Align the notch on the new RAM module with the key in the RAM slot. Insert the RAM module at an angle and firmly press it down until the clips lock it in place. Ensure the module is securely seated and the clips are properly engaged.

Reassembling and Testing Your Laptop
Securing the Back Panel
Replace the back panel on your laptop. Reinsert and tighten the screws using the Phillips-head screwdriver.
Powering Up the Laptop
Reconnect the battery if it was removed. Plug in the power adapter. Power on the laptop and allow it to boot up fully.
Verifying the RAM Upgrade in the System
Once the laptop boots up, navigate to the system information as previously described. Verify that the new RAM is recognized and the total memory reflects the upgrade.
Troubleshooting Common Issues
Despite following the steps carefully, you might encounter some issues. Let's address common problems and their solutions.
Laptop Not Powering On
If your laptop doesn't power on, ensure the RAM module is correctly seated and the back panel is securely fastened. Double-check that you reconnected the battery and power adapter properly.
RAM Not Recognized by the System
If the RAM isn't recognized, make sure it is compatible with your laptop. Retry removing and reinstalling the RAM module, ensuring it clicks into place.
Performance Problems After Installation
If performance issues arise, verify the RAM's compatibility and confirm that the module is not defective. Running a diagnostic test using built-in software or third-party tools can help identify issues.
Conclusion
Upgrading your laptop's RAM is a cost-effective way to boost its performance and extend its lifespan. By following this step-by-step guide, you can confidently install new RAM modules and enjoy a smoother, more efficient computing experience. Remember to back up your data, gather the necessary tools, and ensure compatibility before starting the installation process.
Frequently Asked Questions
Can I install RAM in any laptop?
Not all laptops allow RAM upgrades. Some ultrabooks and models with soldered RAM restrict upgrades. Check your laptop's specifications and user manual to confirm upgradability.
How much RAM should I buy?
The amount of RAM depends on your needs. For general use, 8GB is sufficient. For gaming, video editing, or other intensive tasks, consider 16GB or more.
What do I do if my laptop doesn't recognize the new RAM?
If your laptop doesn't recognize the new RAM, ensure compatibility, reseat the RAM module, and check for BIOS updates. If problems persist, the RAM module might be defective.


